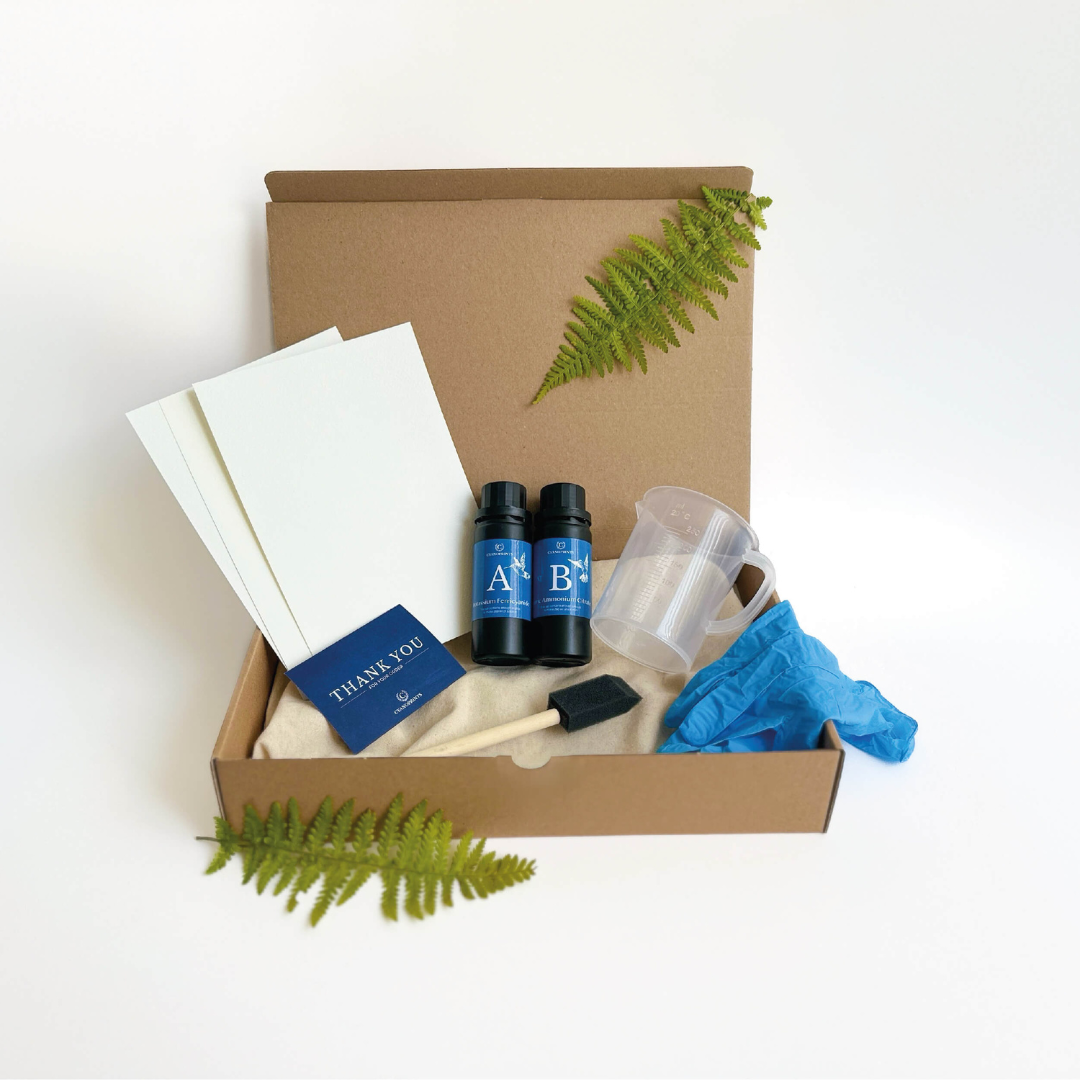
Discover the magic of cyanotype printing with the complete Cyanotype Starter Kit from Cyanoprints.com. This carefully curated set includes everything you need to create your very first blueprints at home – no prior experience required. Perfect for beginners, hobbyists, photographers, artists, and educators who want to explore the historic art of blueprint photography.
What is included in the Cyanotype Starter Kit?
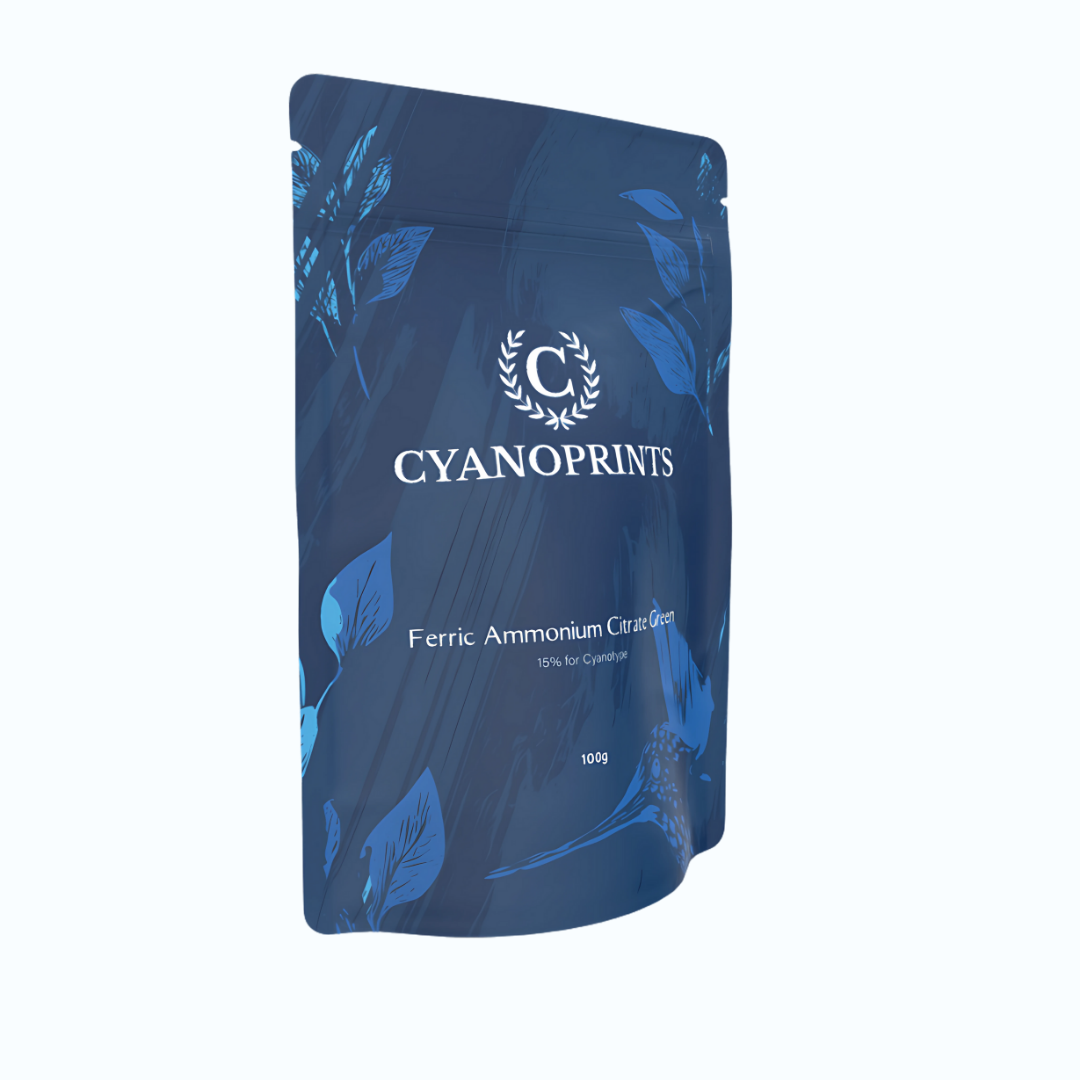
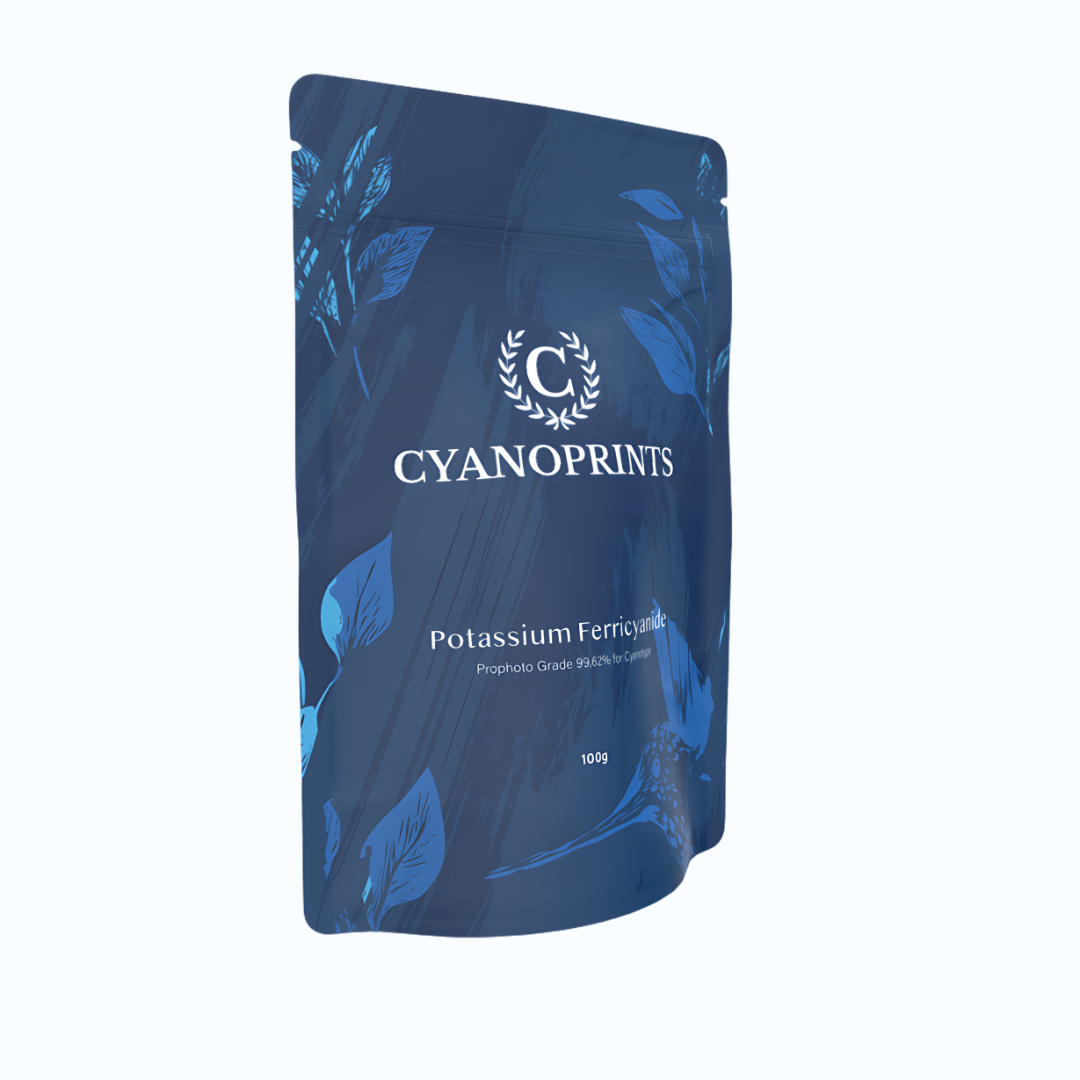
- 200 ml of light-sensitive cyanotype emulsion (powder form – just mix with water)
- 10 sheets of premium watercolour paper in different sizes, absorbent and durable
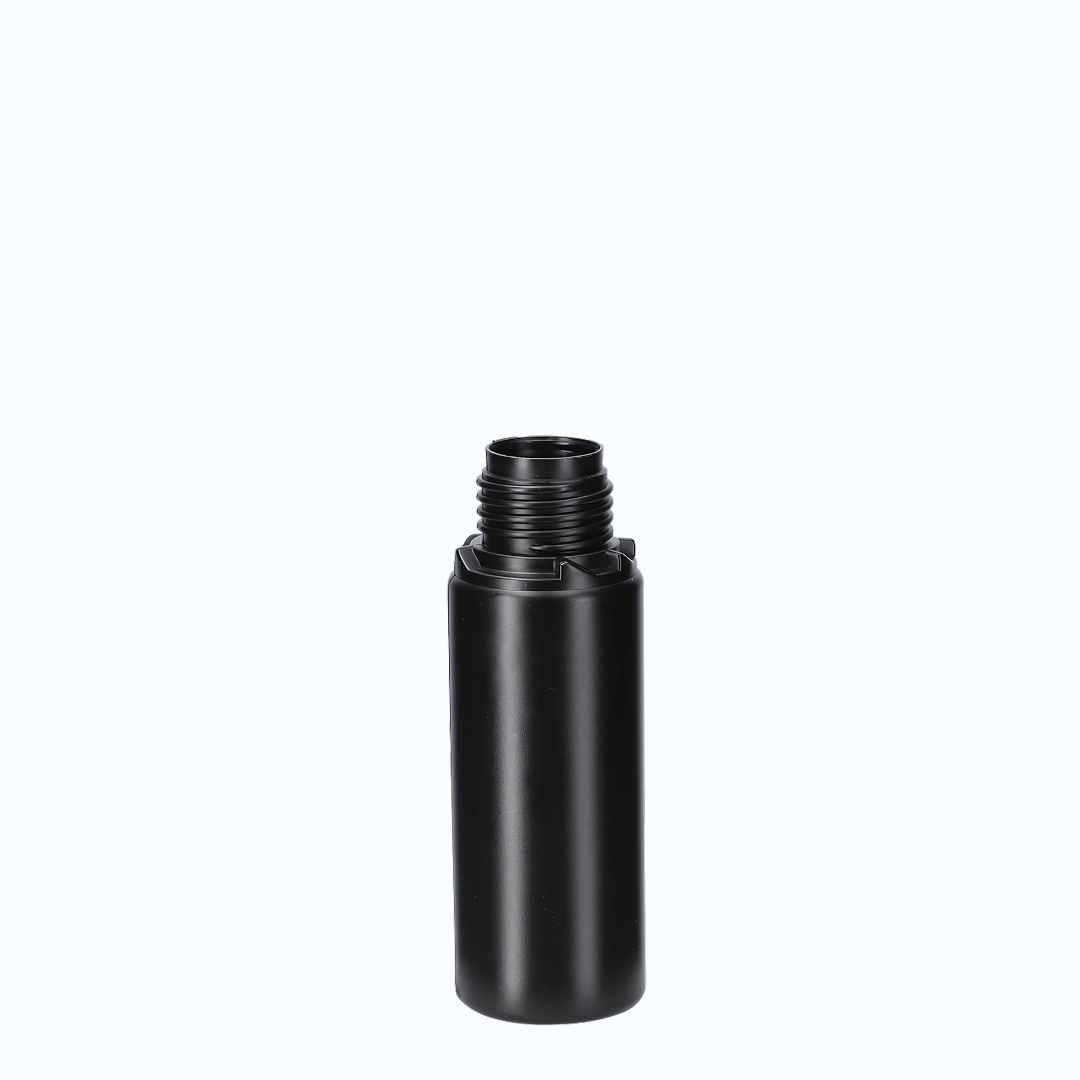
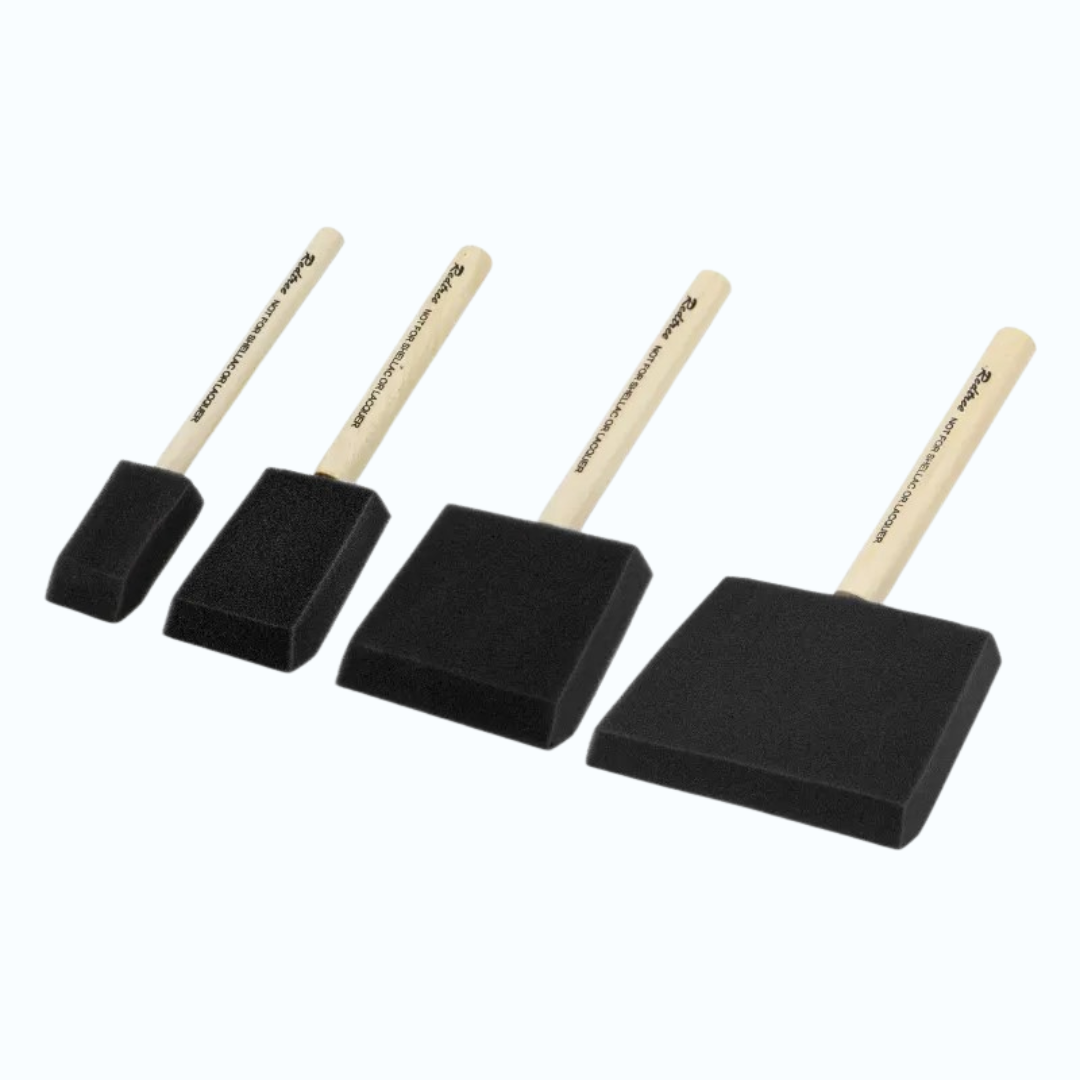
- Foam brush, measuring cup, mixing container and protective nitrile gloves
- Step-by-step instructions – so you can get started immediately, even as a beginner
How does cyanotype printing work?
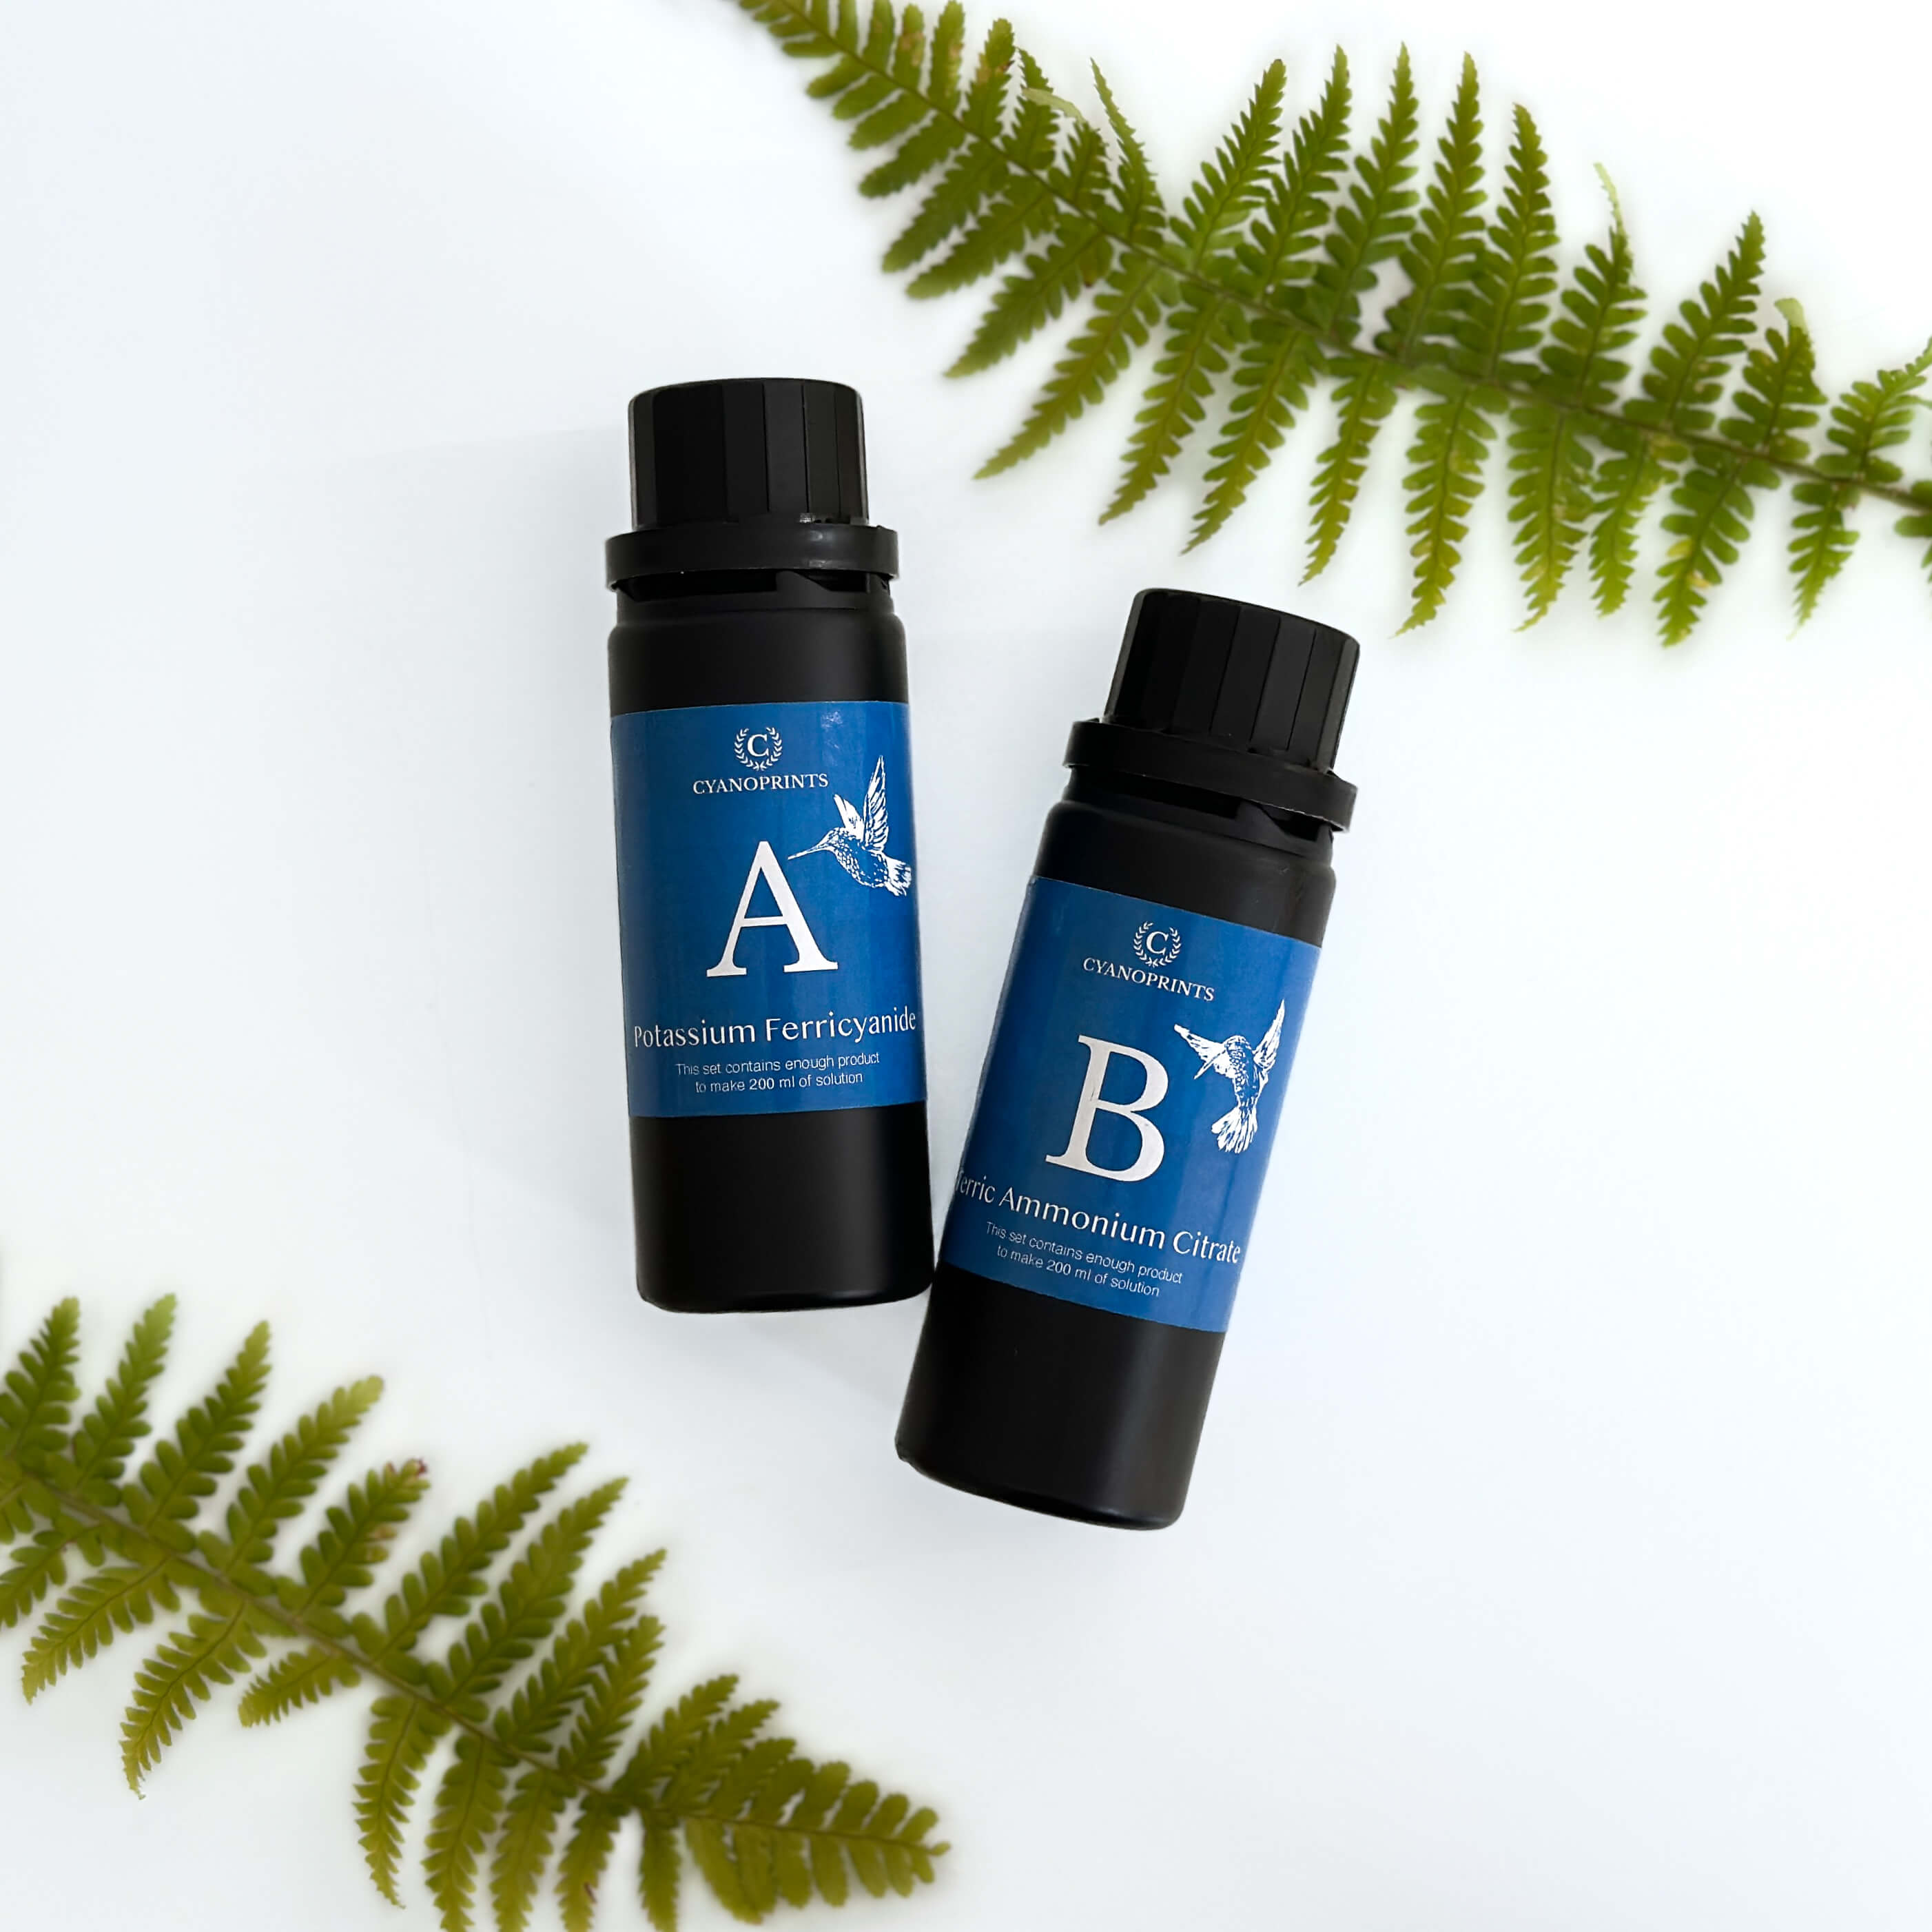
Cyanotype is one of the oldest photographic printing techniques, invented in 1842. The process uses two light-sensitive chemicals – Potassium Ferricyanide and Ferric Ammonium Citrate – which, when coated onto paper or fabric, react to UV light. When exposed to sunlight or a UV lamp, objects or negatives placed on the surface leave behind striking white silhouettes against a deep Prussian blue background. After rinsing with water, the image becomes permanent.
Why choose the Cyanotype Starter Kit?
- All-in-one package – includes everything you need to start printing immediately.
- Creative and educational – ideal for art projects, workshops, or school activities.
- Beginner-friendly – clear instructions make it easy to follow.
- Eco-friendly process – cyanotype uses non-toxic chemicals and natural UV light.
- Versatile – works on paper, textiles, and mixed media.
Tips for getting the best results
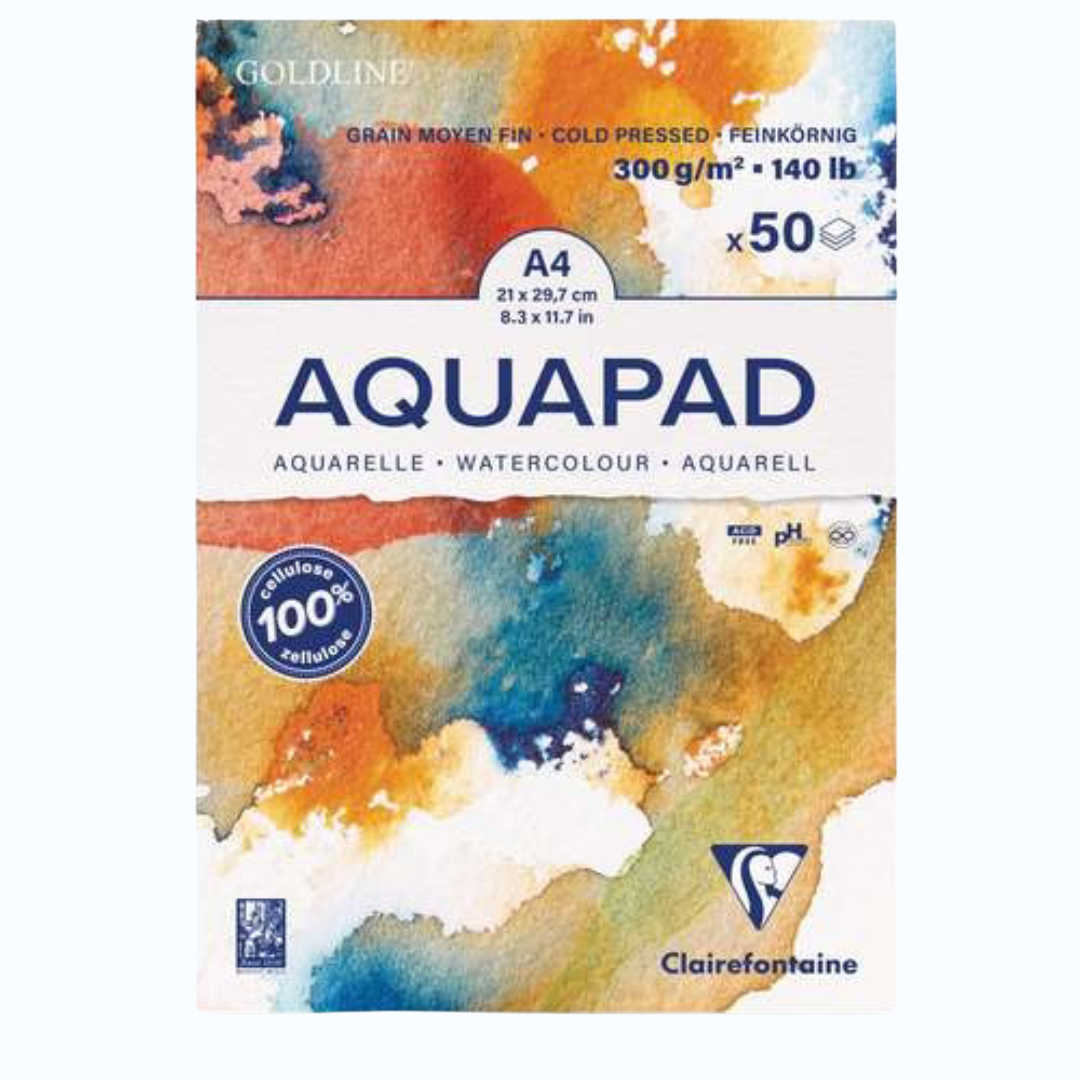
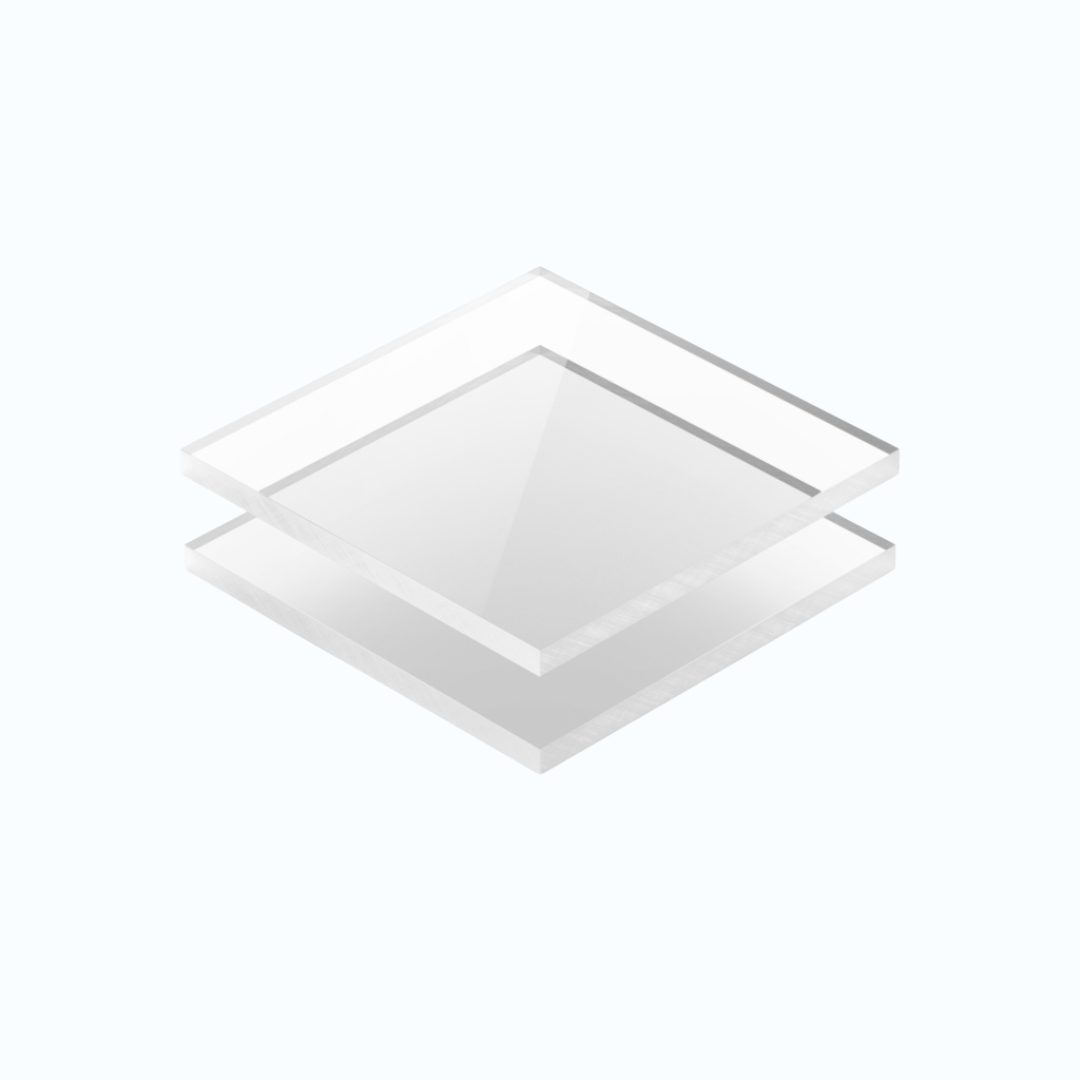
For sharp and professional-looking blueprints, we recommend using our Clairefontaine Aquapad 300g paper. It absorbs the emulsion evenly and provides crisp detail. To ensure even coating, use the included foam brush – or upgrade to our foam brush set for more control. For contact printing, place a UV-plexiglass plate on top of your paper to keep it flat and ensure perfect exposure.
Step-by-step: How to make your first cyanotype
- Mix the cyanotype powder with water as instructed.
- Use a foam brush to evenly coat your paper or fabric.
- Allow the surface to dry completely in a dark space.
- Place leaves, flowers, feathers, or printed negatives on the coated surface.
- Expose to sunlight or a UV lamp for 10–20 minutes (depending on light intensity).
- Rinse thoroughly with water to reveal your deep-blue image.
- Let the print dry flat – and your first cyanotype artwork is complete!
Who is this kit for?
The Cyanotype Starter Kit is designed for anyone curious about analogue photography and alternative printmaking. Whether you are an artist looking for a new medium, a teacher planning a creative workshop, or a hobbyist who wants to experiment, this set is a perfect starting point. It also makes a thoughtful and original gift for creative friends and family.
Combine with other Cyanoprints products
When you run out of emulsion, simply restock with our Cyanotype Refill Kit. For professional results, pair your kit with nitrile gloves, foam brushes, and specialist cyanotype paper.
Frequently Asked Questions (FAQ)
How many prints can I make with this kit?
On average, you can create around 20–30 medium-sized prints, depending on how much emulsion you apply per sheet.
Can I use fabric instead of paper?
Yes, cotton or linen fabrics work beautifully with cyanotype. Just make sure they are pre-washed and uncoated.
Is the cyanotype process safe for children?
Yes, cyanotype is considered safe when basic precautions are taken. Always supervise children and ensure they wear gloves.
How long does the mixed emulsion last?
Once mixed with water, the emulsion should be used within a few days. Store it in a dark, cool container to prolong its life.
Do I need a UV lamp or can I use the sun?
Both work well. Sunlight is free and effective, but a UV lamp allows you to control exposure times more precisely indoors.
